


Building a great sauna is not just about putting up walls and installing a heater—it’s about planning, preparation, and following proven methods of sauna construction. At Sauna HQ, we’ve seen many unconventional builds over the years, often based on misinformation or shortcuts. While there are different opinions on sauna design, we believe the best results come from following the traditional Finnish method of building saunas.
Whether you’re planning a DIY sauna at home or working with a builder, this step-by-step guide will walk you through the essential stages of sauna construction.
Step 1: Build the Sauna Framework
Start with a timber framework—never metal. Follow standard framing codes and make sure studs are placed securely in every corner. The recommended sauna ceiling height is 2100 mm. At this stage, you’ll also need to consider ventilation. The placement of air vents depends on your sauna door position, the type of heater you’re installing, and your bench layout. Proper airflow is critical to comfort and safety.
Step 2: Insulate the Sauna
Insulation is essential to keep the heat inside your sauna. At Sauna HQ, we prefer polyester insulation, but the type or rating of insulation is less important than ensuring it’s properly fitted throughout the framework and ceiling.
Step 3: Wrap the Interior with Foil
Line the sauna interior with aluminium foil, ensuring the silver side faces into the sauna. To maximise heat efficiency, tape all joints with aluminium tape. This step creates a heat-reflective barrier that helps your sauna warm up faster and retain heat.
Step 4: Install Battens
Battening the sauna walls and ceiling creates a vital air gap between the foil and the timber cladding. This not only improves heat performance but also provides structural support for benches and wall-mounted sauna heaters.
Step 5: Clad the Interior with Timber
Next, cover the interior walls and ceiling with your chosen softwood sauna cladding—often cedar, hemlock, or spruce. Finish the corners with beadings for a neat look. At this stage, you’ll also cut in ventilation outlets, run cables for lighting, and install wiring for your heater and thermostat.
Step 6: Build and Install Sauna Benches
Benches are at the heart of the sauna experience. At Sauna HQ, we recommend suspended benches fixed to wall cleats, with support legs for spans greater than 2100 mm. Open bench designs allow for better air circulation compared to boxed-in benches, which can restrict airflow and trap heat.
Step 7: Hang the Sauna Door
Fit the sauna door so it opens outward for safety. A glass window in the sauna door not only adds visibility but also creates a welcoming feel inside the sauna.
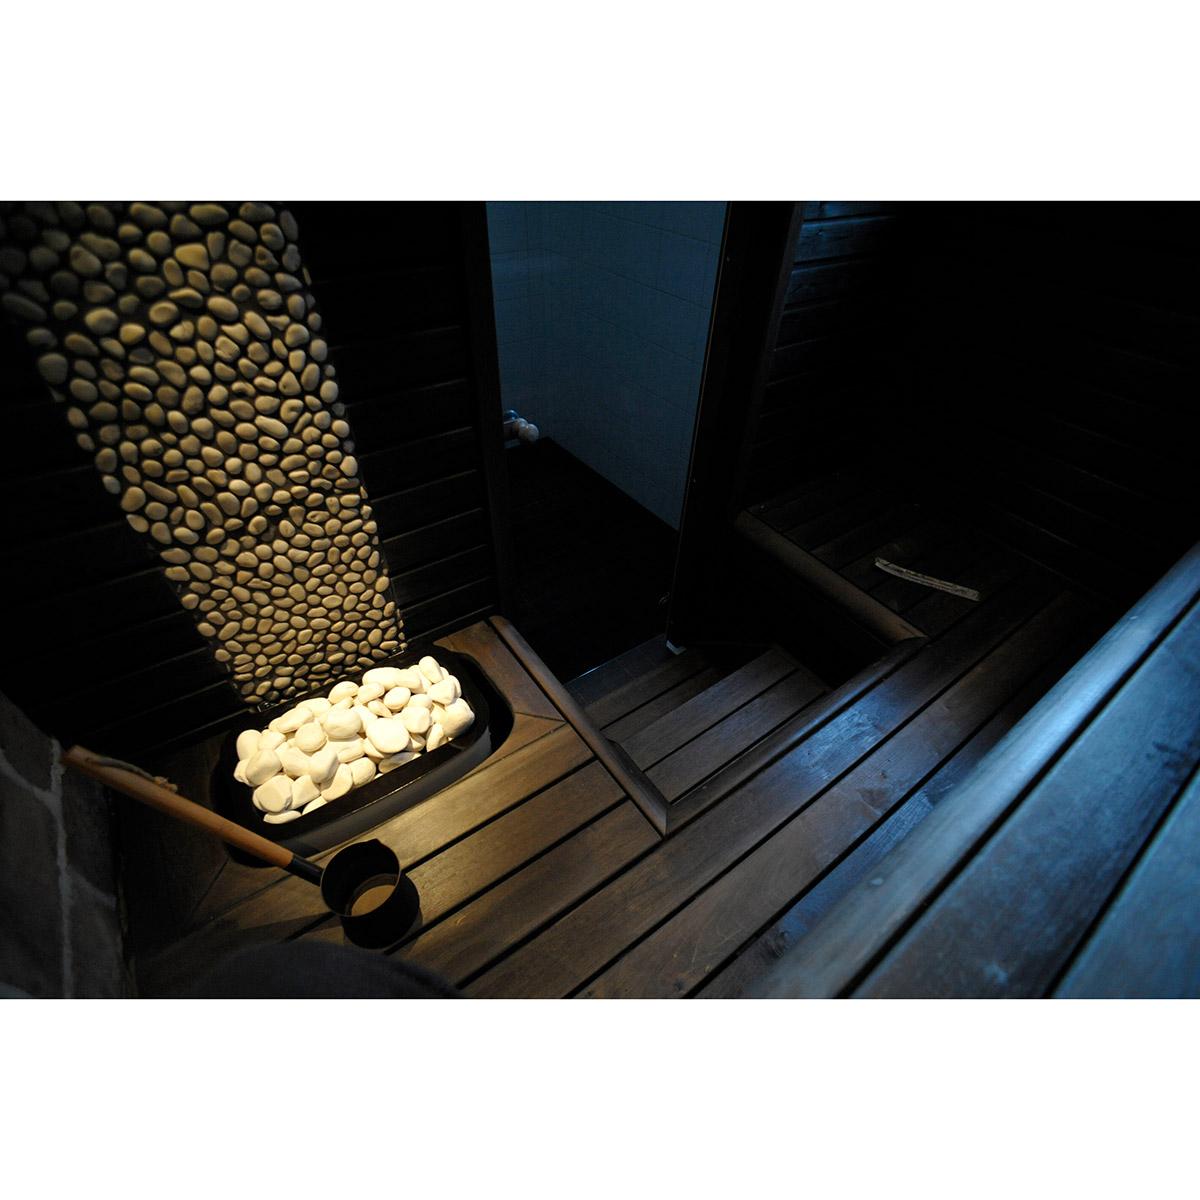
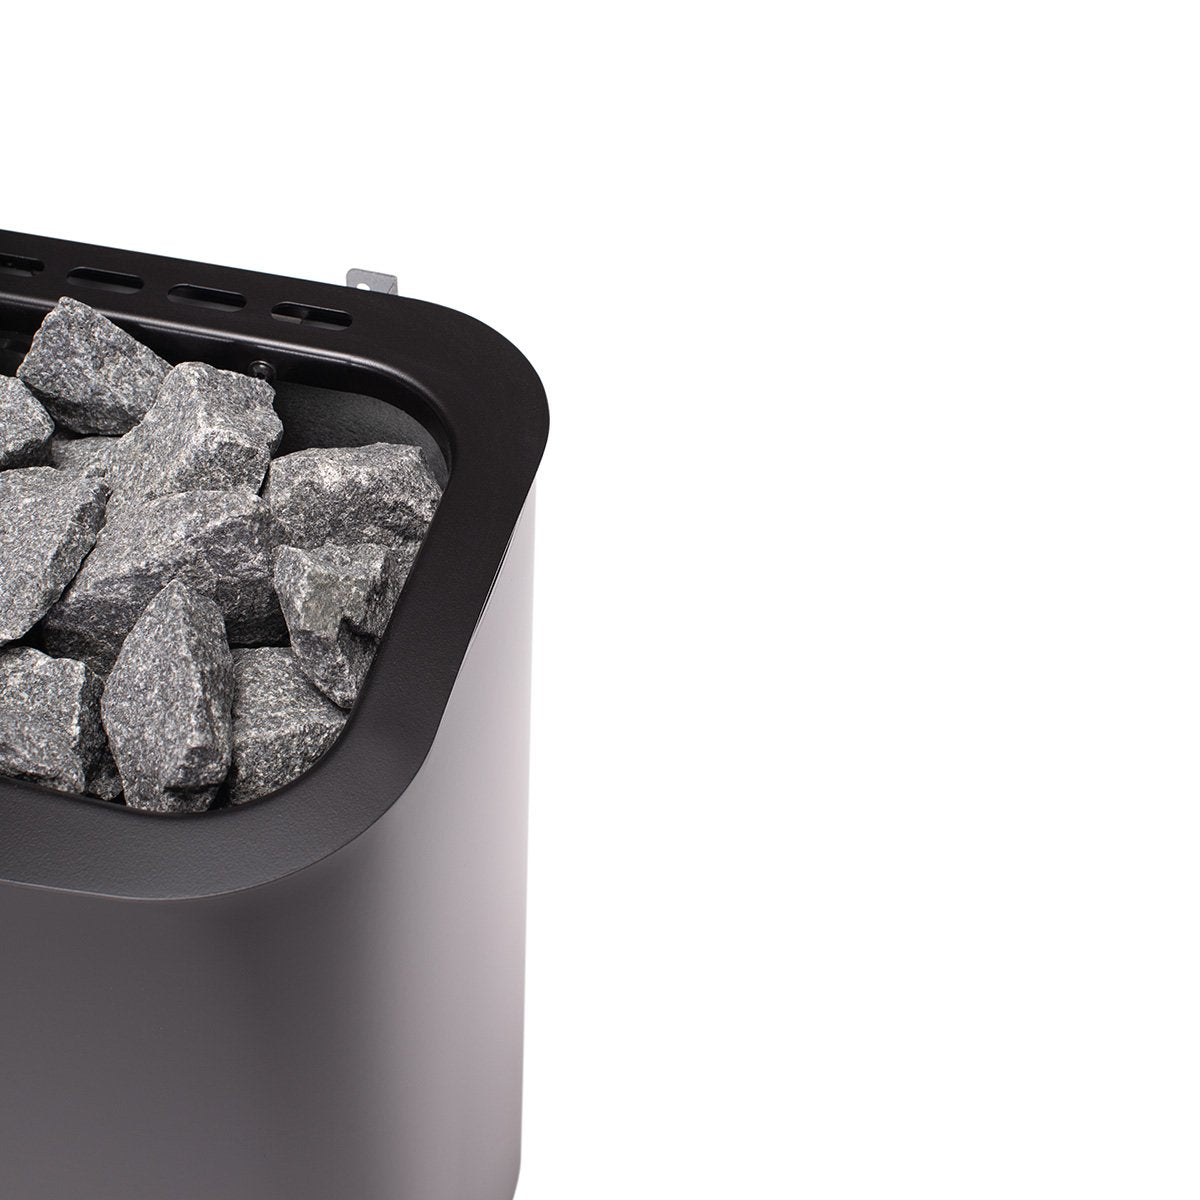
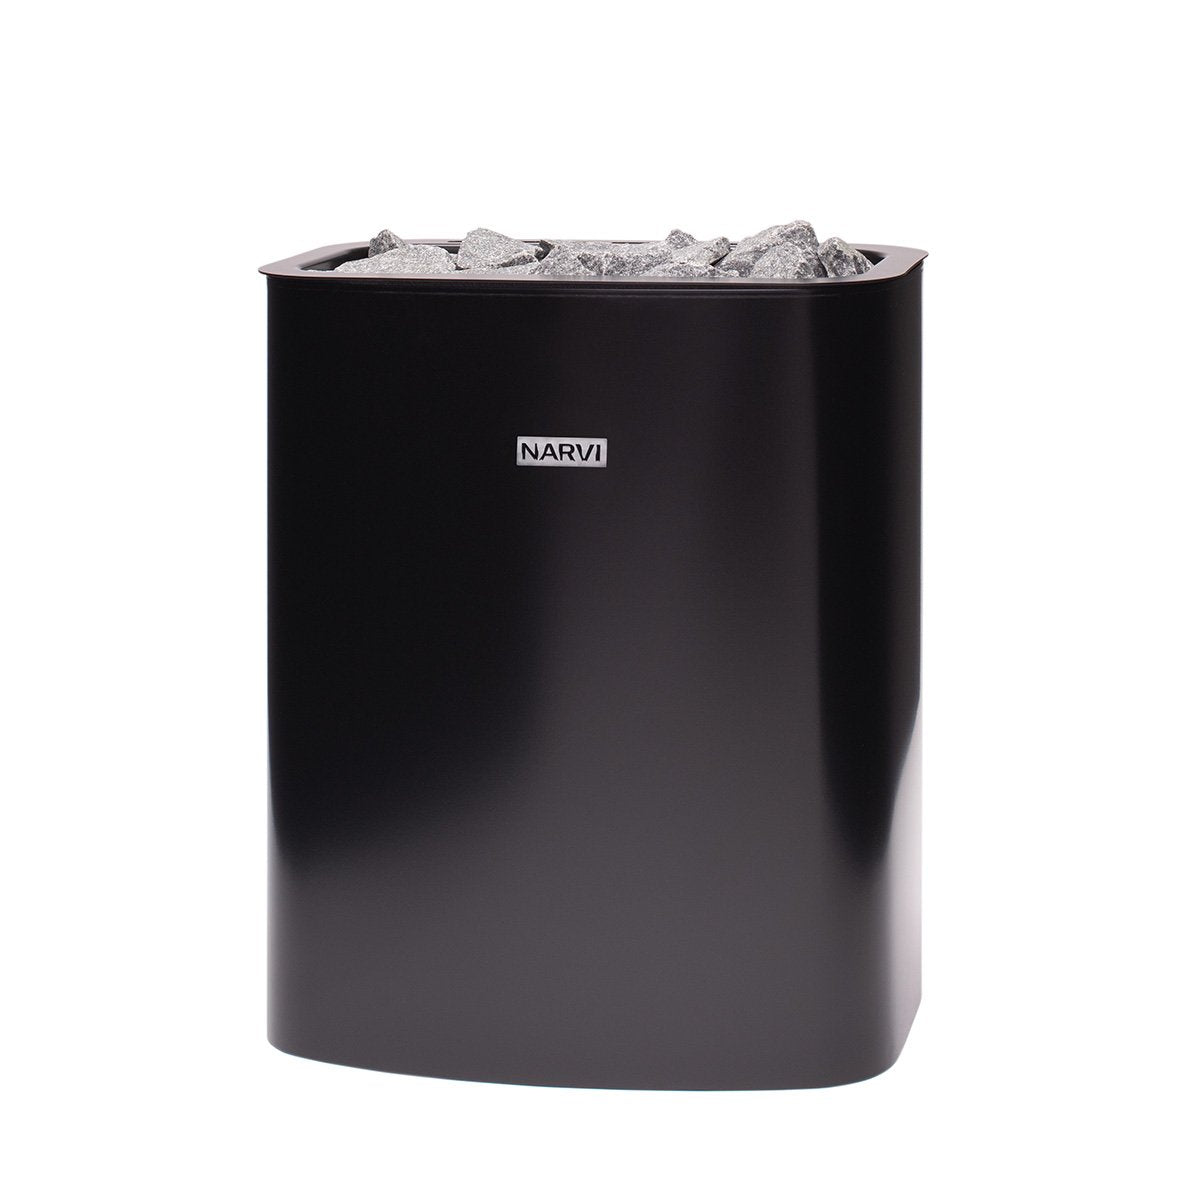
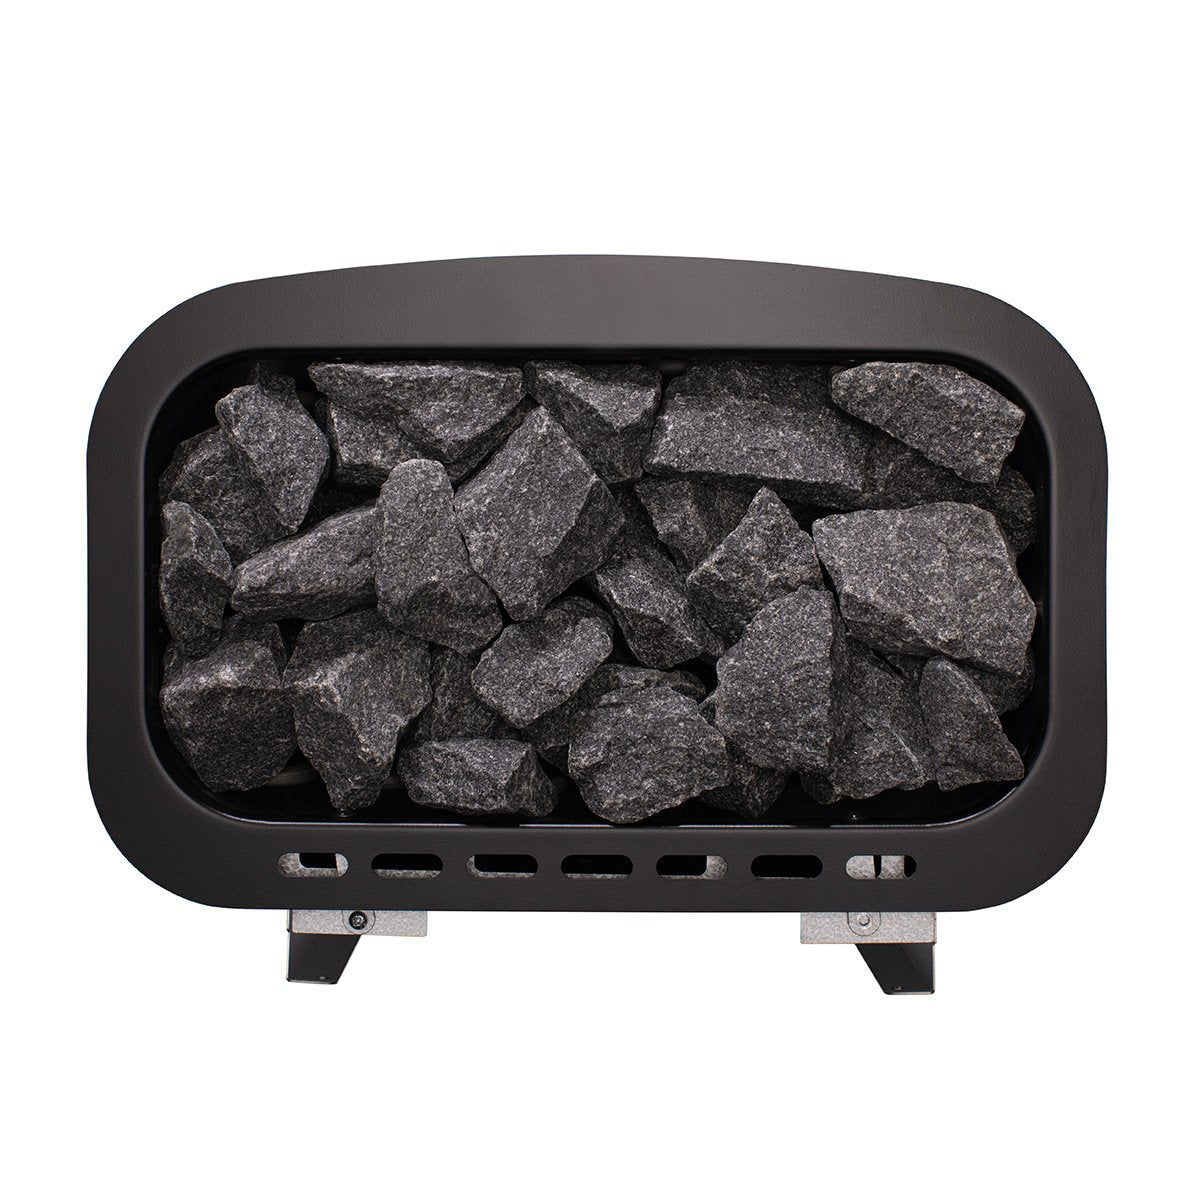
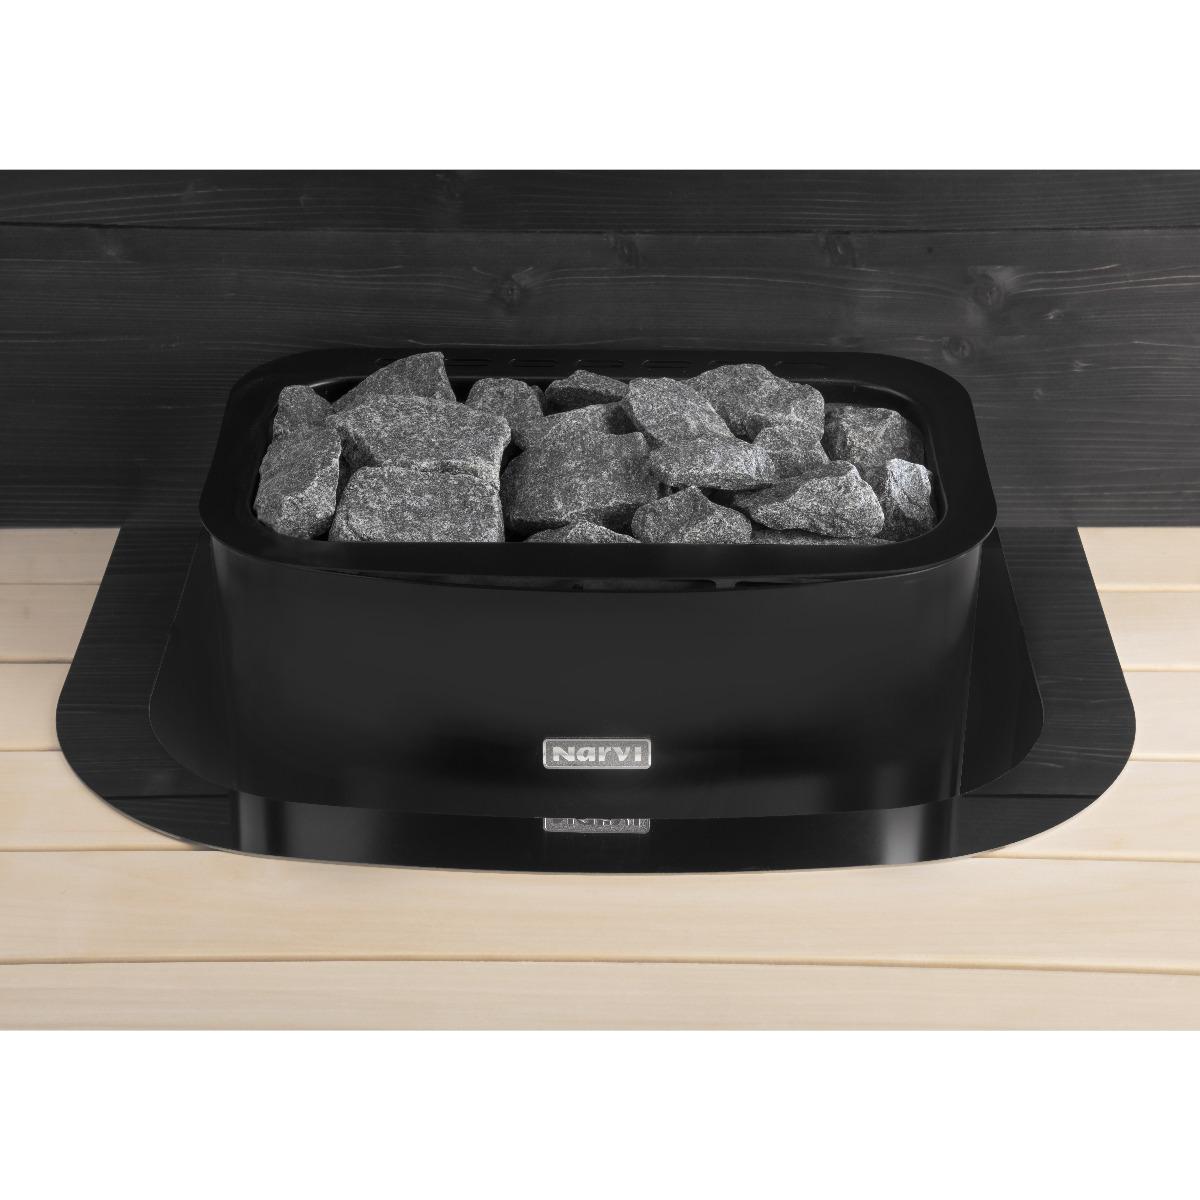
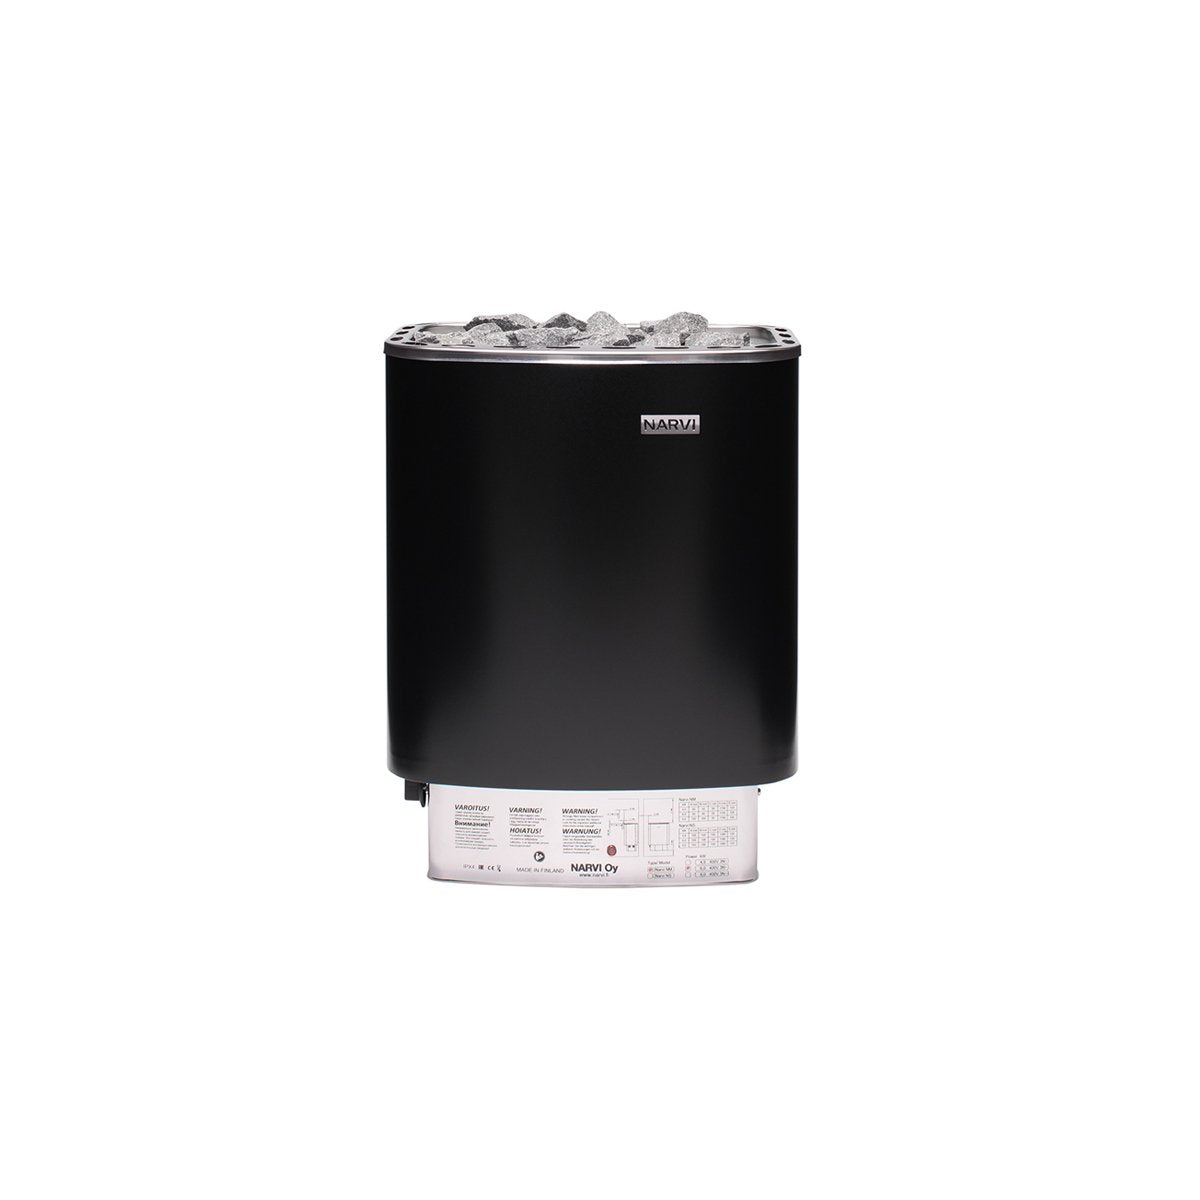
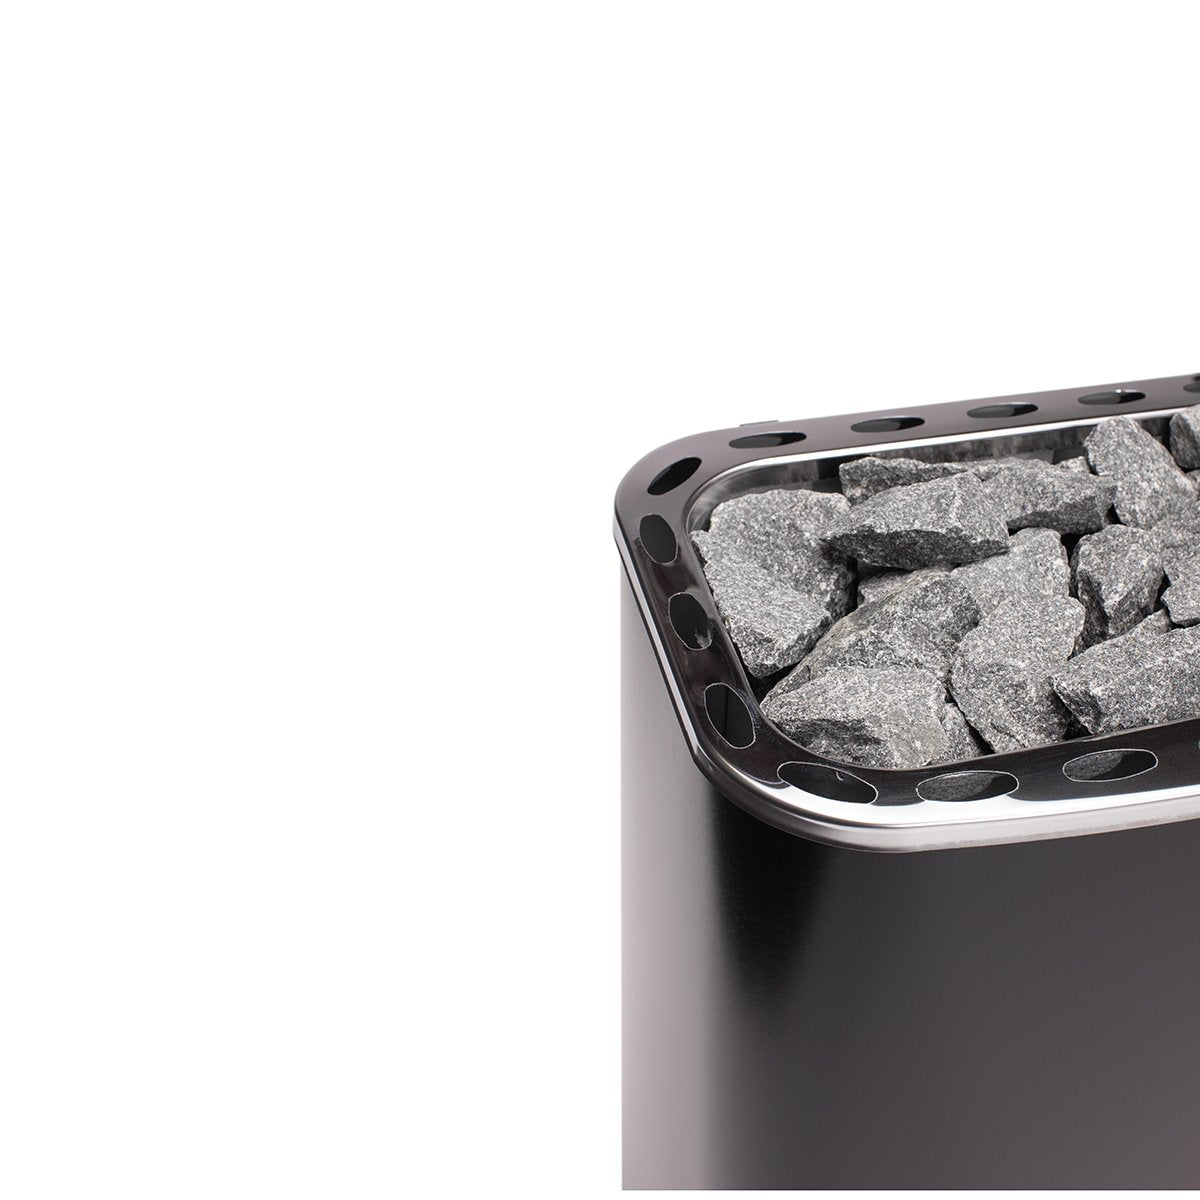
Step 8: Install the Sauna Heater and Lighting
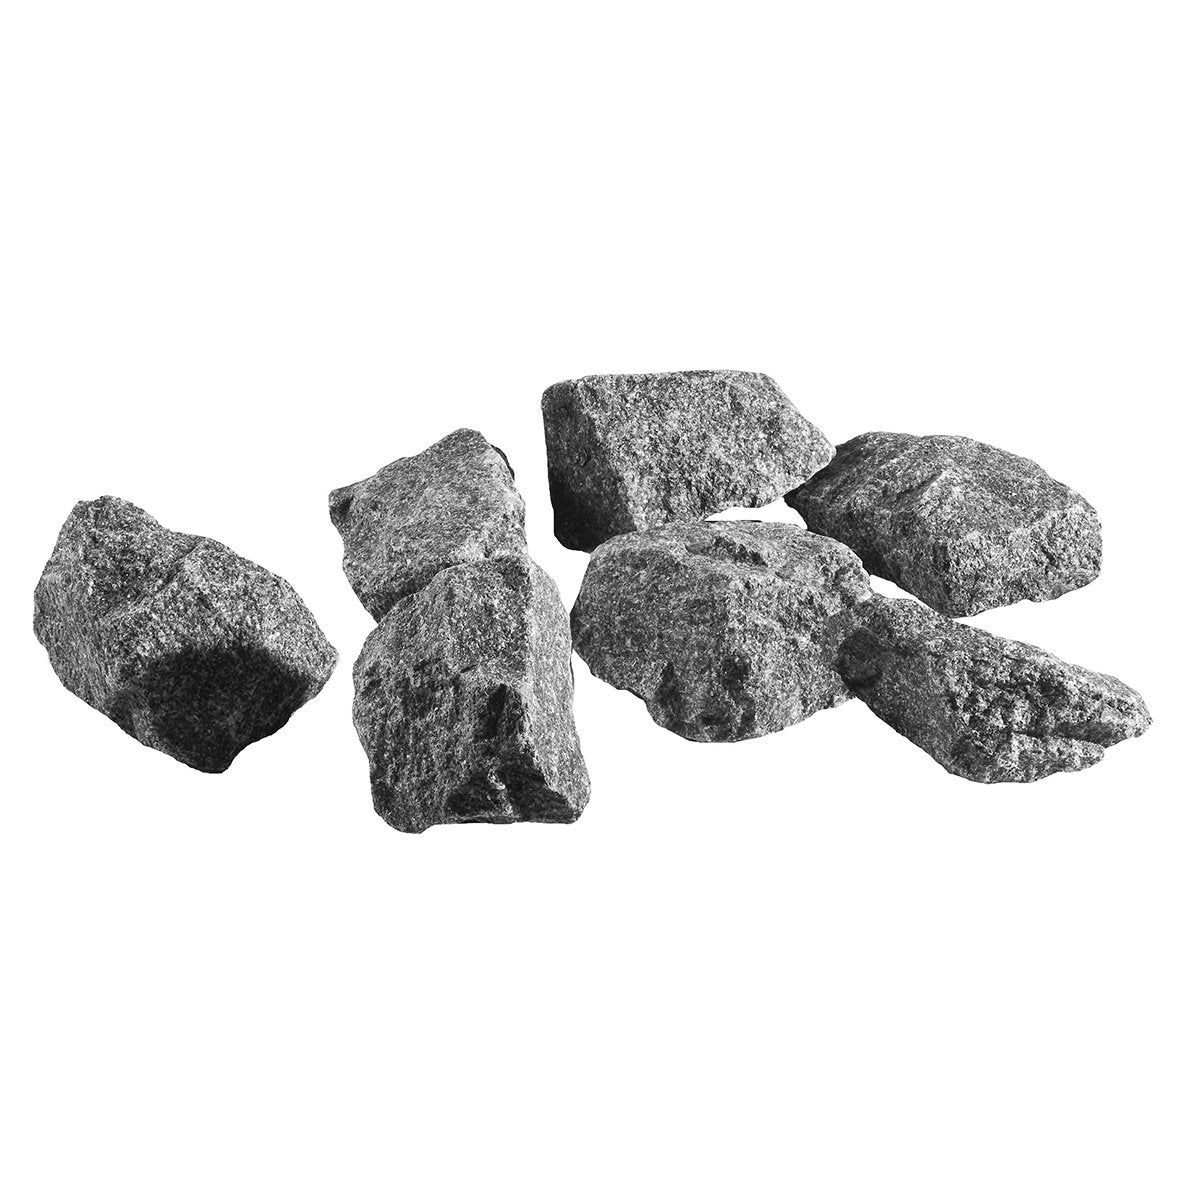
Once the structure is complete, it’s time to install your electric sauna heater or wood-fired heater, depending on your preference. Add sauna-safe lighting for ambience, place sauna rocks into the heater, and your sauna is ready for use.
Finishing Touches for Your Sauna
With the main construction complete, you can personalise your sauna with optional features such as backrests and bench infills, duckboard floor mats, heater guard rails, and LED sauna lighting. These finishing touches enhance comfort and safety while making your sauna uniquely yours.
Need Help with Your Sauna Build?
If you’re considering building your own sauna but want expert guidance, Sauna HQ offers DIY Sauna Builder Packages. These include all the materials you need plus detailed, customised building guidelines for your project. We also provide sauna consultation services—perfect if you want personalised advice on sauna design, ventilation, heater selection, or finishing details.
Final Thoughts
Building a sauna is an exciting project that can add relaxation, health benefits, and value to your home. By following traditional Finnish sauna construction methods, you’ll create a space that’s authentic, efficient, and built to last.
If you’re ready to get started, browse our DIY sauna kits, heaters, and accessories, or reach out to our team at Sauna HQ for expert advice.